In my previous blog about Login PI3 I showed how to install and configure Login PI 3. In this blog I will show you how to create new applications in Login PI 3 and will show you how to add basic steps for that application. In this article I will use SumatraPDF (because it is my favorite PDF viewer) as an example, you can replace SumtraPDF with your own application as wanted.
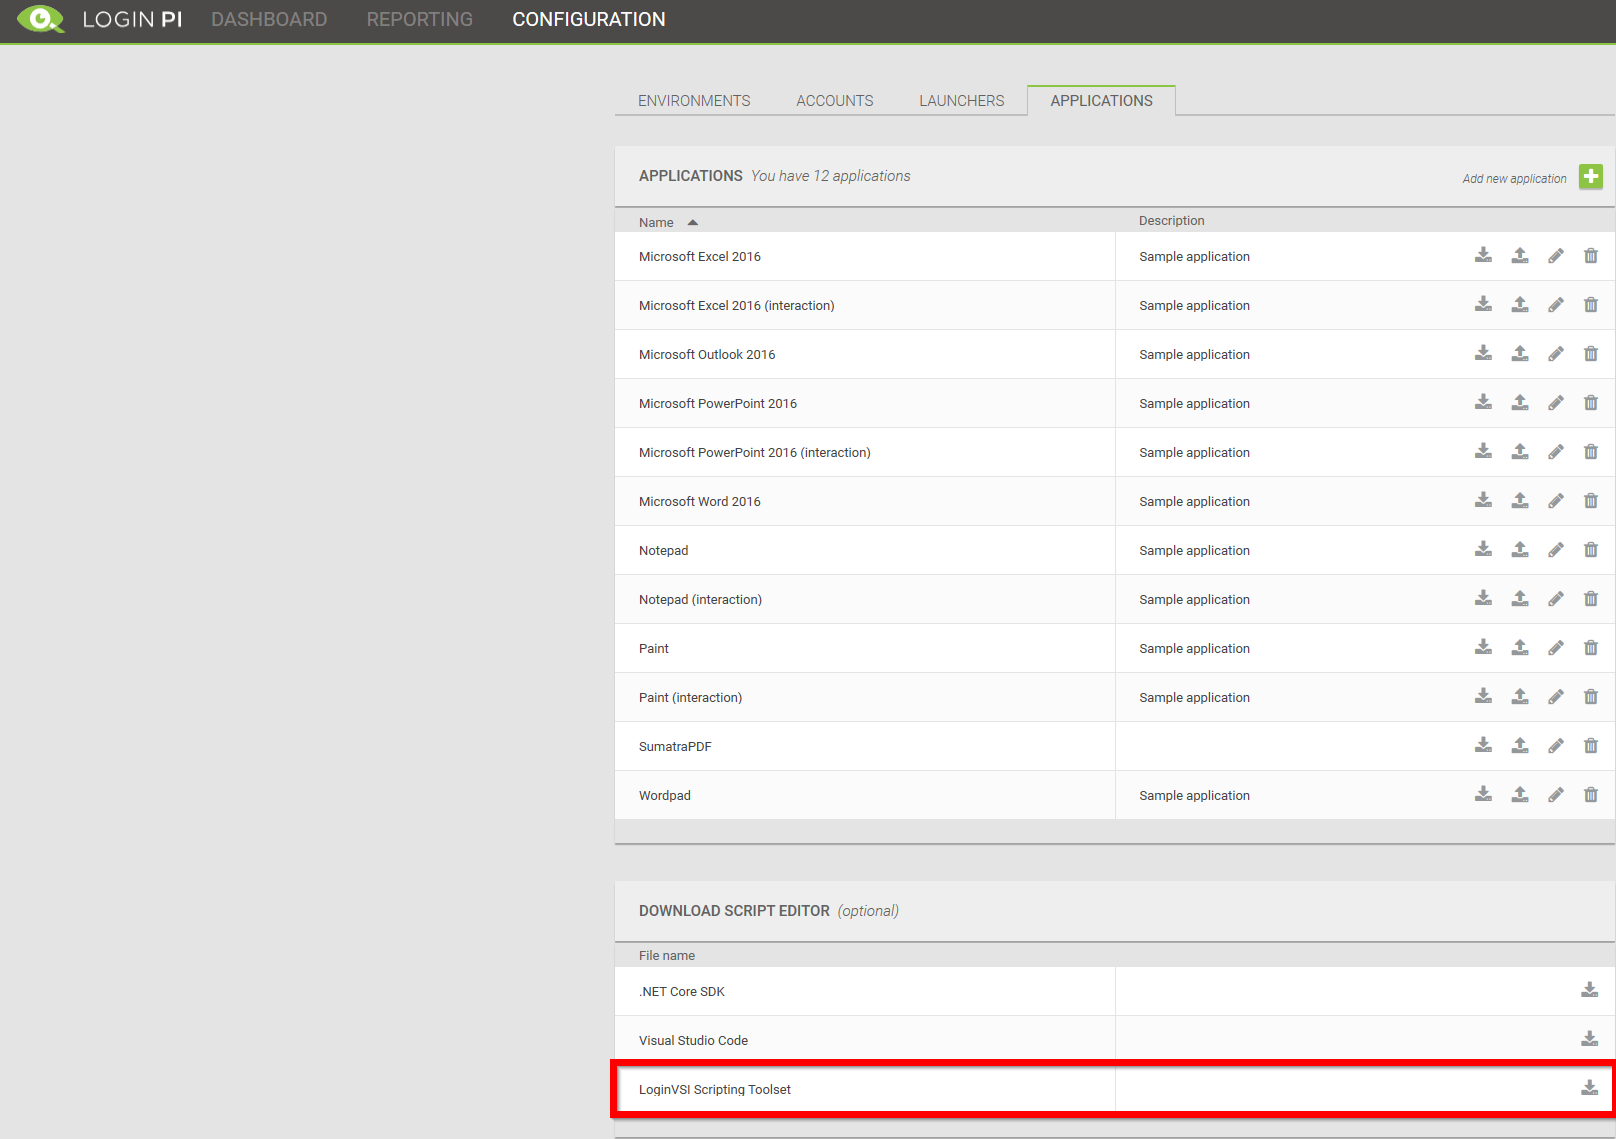
If you login to the Login PI dashboard you can find Configuration > Applications
From there you can create applicatons, at the bottom of the page there is a download for:
.Net Core
Visual Studio Code
The scripting toolkit
At the same page when you go to add application, you will see the following dialog:
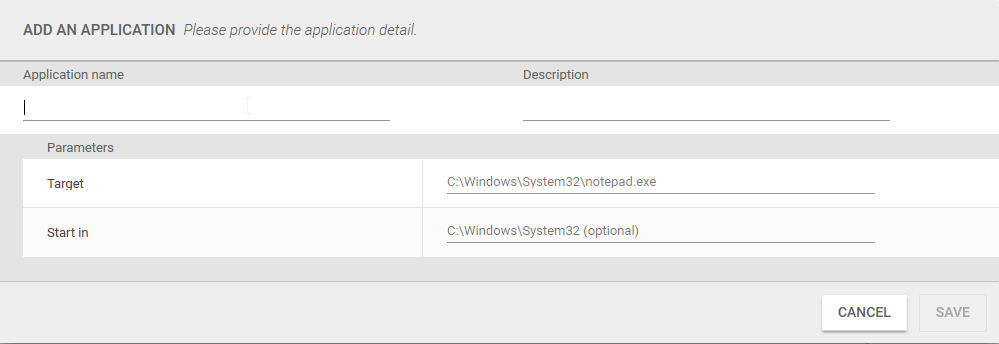
At application name add the name of the application, in this case SumatraPDF, description can be left empty
At Parameters fill in the Target (path to the executable) in this case C:\Program Files\SumatraPDF\SumatraPDF.exe because I used the 64-bit version of the application and as start in C:\Program Files\SumatraPDF
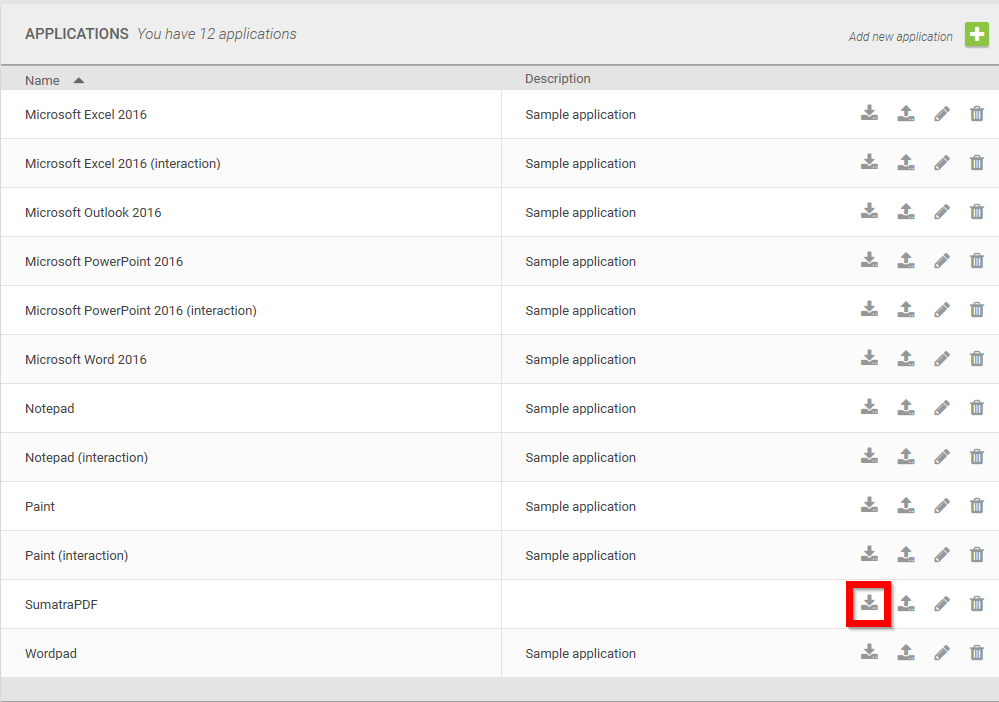
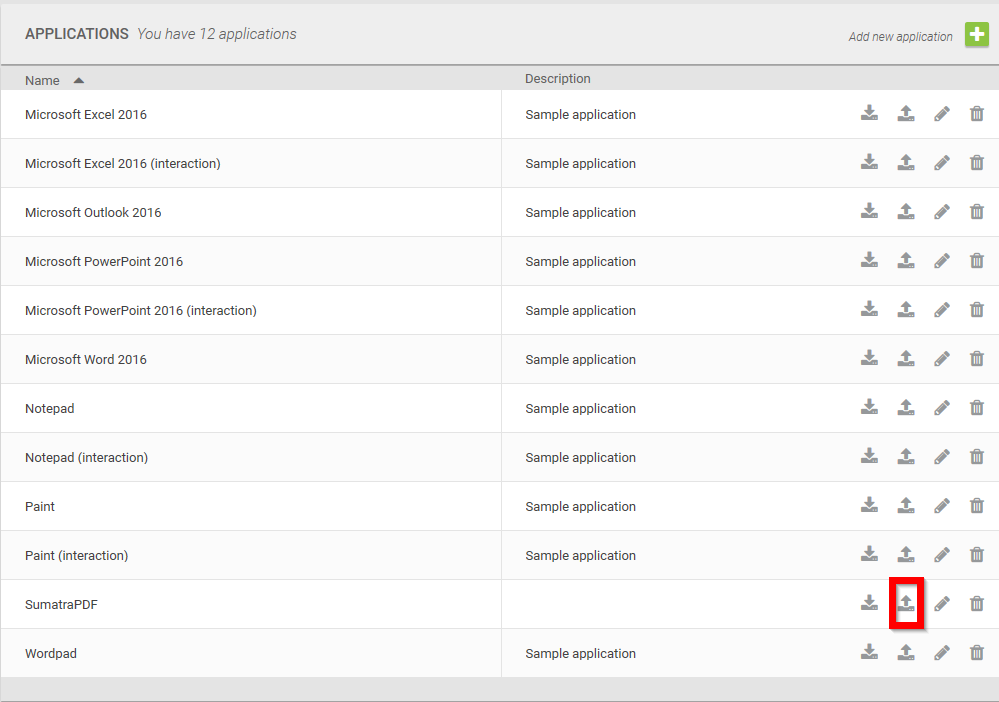
Once the application is created in the PI Website download it from the page:
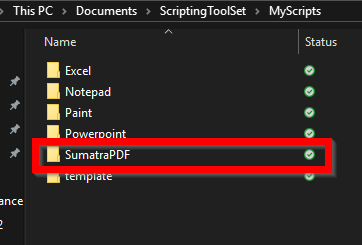
Save the download in the same folder where you have the scriptingtoolkit in the myscripts folder and a folder representing your application name in this case SumatraPDF:
After this you can fire up Visual Studio Code. Open the folder where you save the MyScripts and open up your application script initially it will look like this:
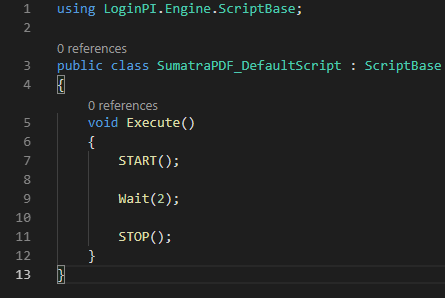
This script will:
- Start the application
- Wait for 2 seconds
- Stop the application
Now that is some very basic functionality.
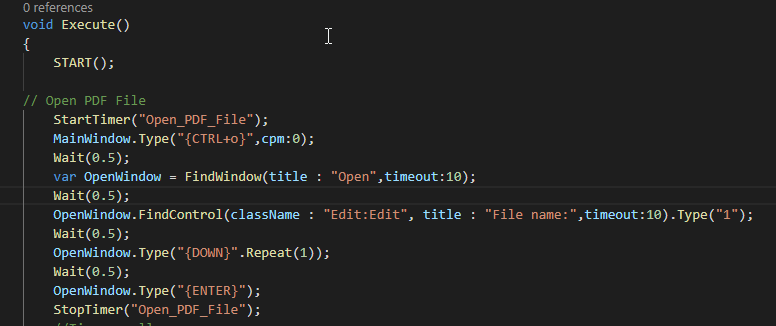
What if we want to open a pdf? And what if we want to know how long it takes to open the PDF?
In the following code snippet I will show you how to do this, it will do:
- Start the time for opening the file
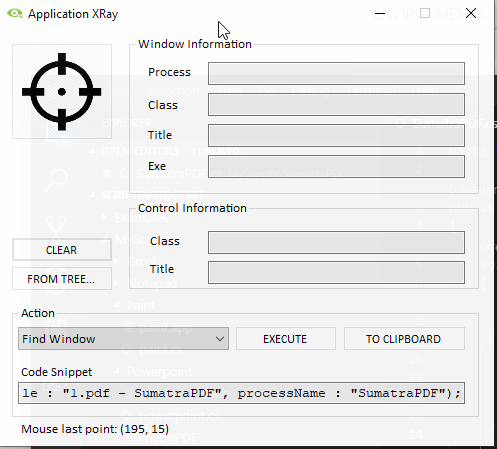
- Hit crtl+o to open the file (in the scriptingtoolset the applicationxray.exe is included, use this to find the File Open dialog and put that file into a new variable)
- Look for the predefined 1.pdf file
- stop the time
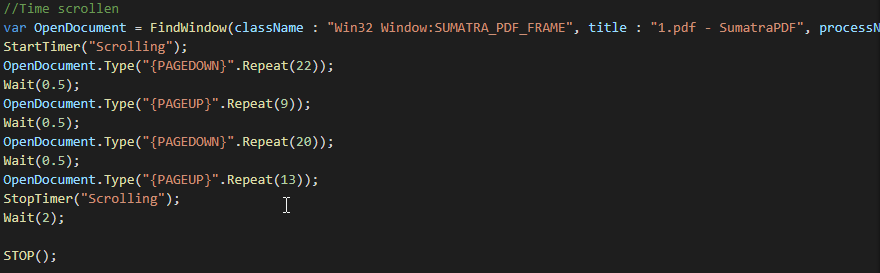
What if we want to browse the file? Well we can do this by
- Start the timer for scrolling
- Hit page down and page up a few times
- Stop the timer
After this scripting is done, we can use the debug function of Visual Studio Code to do the testing of the script. Once we are happy with the created workload you can upload it back to the PI webinterface again:
When the upload is successful you will see the following notifaction:
Now you can use the application in your enviroments! Happy monitoring!!
A few tips for creating custom applications:
- Use variables to store windows in
- Validate your windows with the Xray application
- Use the debug function of Visual Studio code
- Use timers to make sure that your validation of the window is correct